Emma is our resident “Grinch” and really doesn’t like mentioning the “C” word until mid December, but she always manages to come up with the BEST Christmas designs like these sparkly Rudolph Earrings – Thank you Emma!
Scroll down to find everything you need to make this fabulous design

You will need the following:
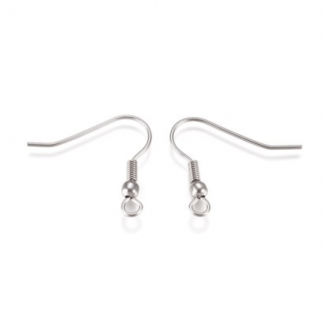
2 x Earwires
2 x Headpins
2 x Swarovski 14mm Baroque Beads in Golden Shadow
2 x 4mm Light Siam Shimmer Swarovski Xillion Bicones
4 x 3mm Light Siam Swarovski Xillion Bicones
2 x 3mm Astral Pink Swarovski Xillion Bicones
4 x 4mm Rosaline Crystal Gold Swarovski Xillion Bicones
2 x 4mm Crystal Rondelles
0.5mm Vivid Red Wire
Tools: Round Nose Pliers, Side Cutters, Chain Nose Pliers
Instructions:
- Cut two 20cm lengths of vivid red wire.
- Take one length of wire and use your round nose pliers to make a loop in the centre of the wire – you’ll thread this loop onto your headpin later on.
- Now thread on a 4mm Rosaline Crystal Gold Xillion until it is approx 2cm down the length of wire, fold the wire back over the crystal and put in a few twists to hold the crystal in place.
- Add on a 3mm Light Siam Crystal and fold the wire back on itself and put in a few more twists.
- Twist the wire together and then thread on a 3mm Astral Pink Crystal and once again fold the wire back on itself and put in a few more twists.
- Twist the wire together a few times and add on a final Rosaline Crystal Gold Xillion and once again fold the wire back on itself and put in a few more twists.
- Twist the wire together until it reaches the loop you created in step 2.
- Repeat steps 3-7 for the other side of the antler.
- Now arrange your wire and crystals so that they look like antlers. Trim off any excess wire.
- Thread a 4mm Siam Shimmer Xillion onto the headpin followed by a Baroque bead, the antlers and a 4mm Crystal Rondelle.
- Make a loop at the top of the headpin and trim off any excess wire. Add your finished earring to an earwire.
- Repeat steps 2-11 for the other earring.